Introduction to Users #
NitroPay Users is a simple yet robust solution for adding a membership system to your site without the typical costs of building one. With some basic HTML and JavaScript skills, you’ll be up and running quicker than you think.
This feature is not available to NitroPay ad publishers by default. If you don’t see a Users category on the left menu in the NitroPay Panel, let us know you’re interested and we can enable it for you!
Creating your client #
The first thing you’ll need to do is create the client. You can edit any of these parameters after creation except for the client ID.
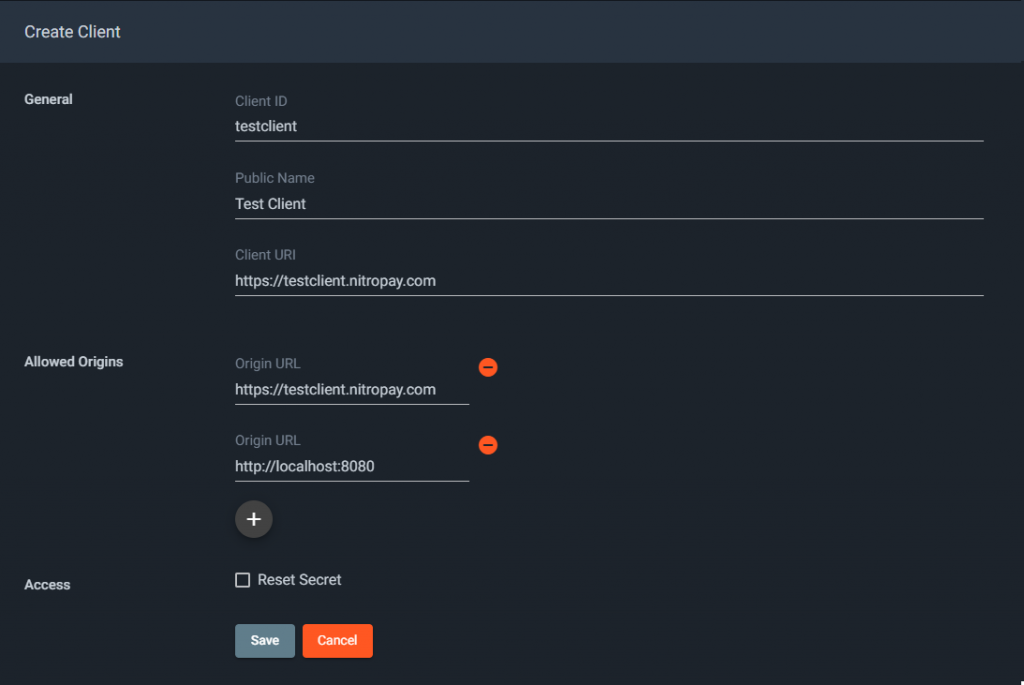
For security purposes, login requests are only permitted from origins you define here.
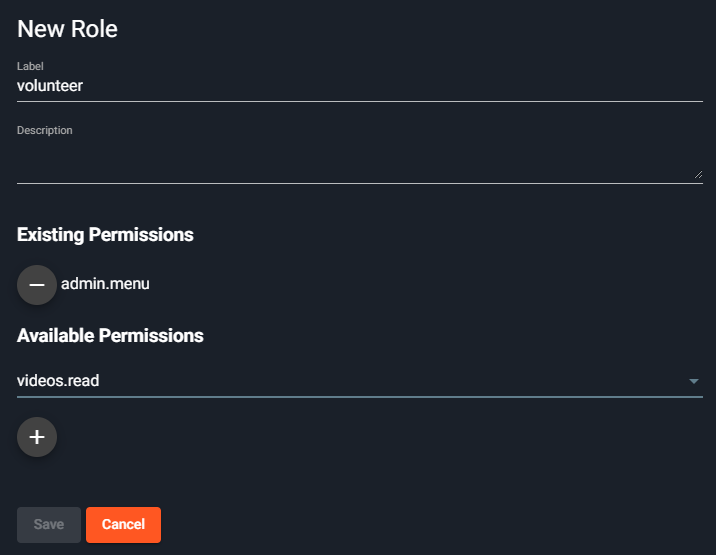
(Optional) Setting up roles & permissions #
For simplicity’s sake; permissions are assigned to roles, and roles are assigned to users. No roles or permissions are created for you by default and they aren’t required for the basic functionality of the membership system.
We recommend first creating a list of permissions for various features you want to control access to. After that you can create roles for the hierarchy you want on your site (ie: admin, staff, volunteer, moderator) and assign the appropriate permissions.